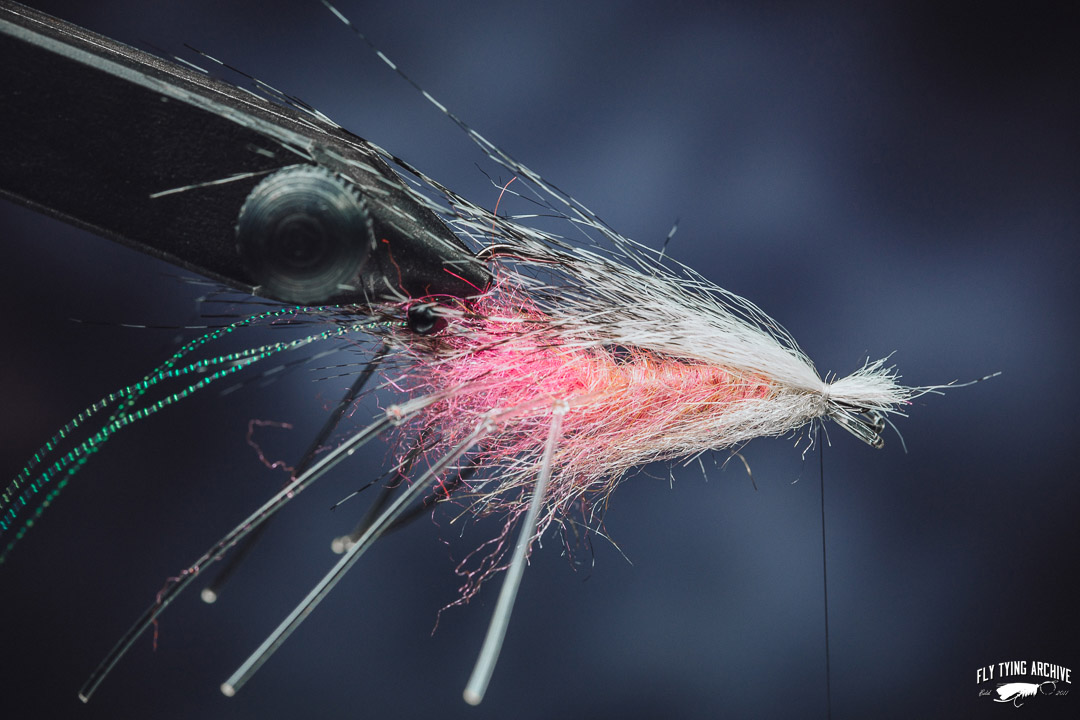
The Perfect Leo Shrimp by Kern Leo Lund from Denmark had a big impact on the way we tie our sea trout shrimps today. There has been of course many realistic shrimp patterns but in my mind this was the pattern that started to make them appear in most fishermen’s flyboxes.

The pattern is actually not as complicated as it may seem. The only difficult thing with these flies is to get correct proportions and to tie the legs symmetrically. Here’s a pink variation of the pattern and also the way I like to tie them which differs a bit from the original. Still pretty close to Leo’s shrimp so I’ve decided to call it a variation, also because I absolutely hate naming fly patterns.

Perfect Leo Shrimp variation

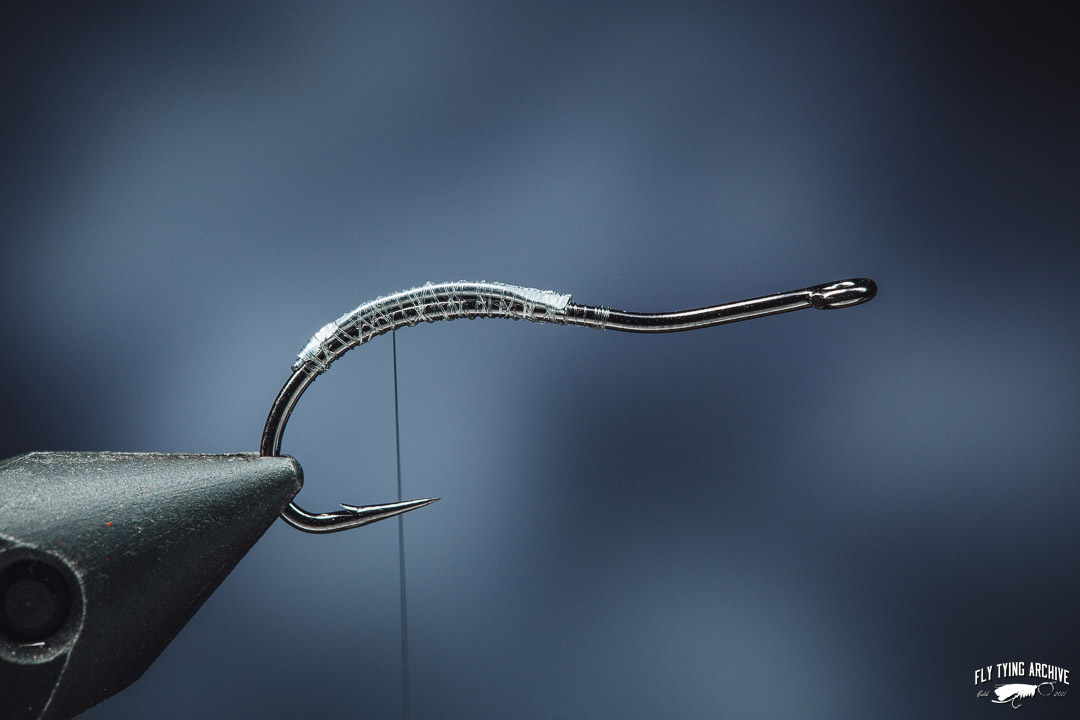
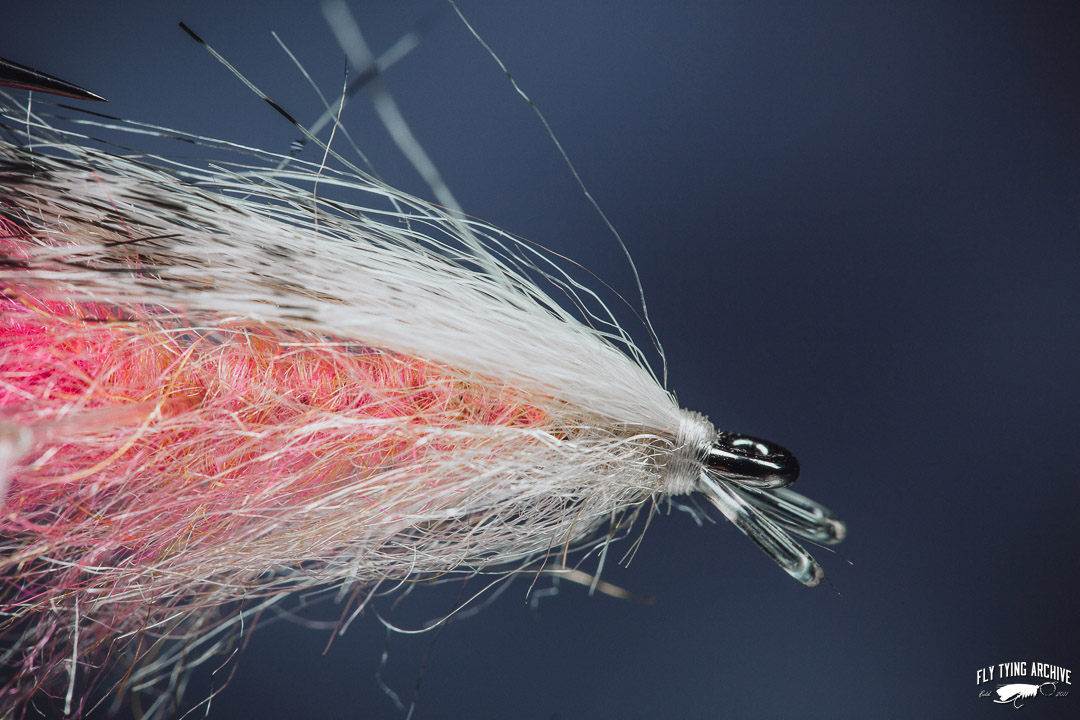
Hook: Ahrex NS150 Curved Shrimp #4-8
Thread: UNI Mono Fine/Clear
Weight: Lead wire 0.20mm
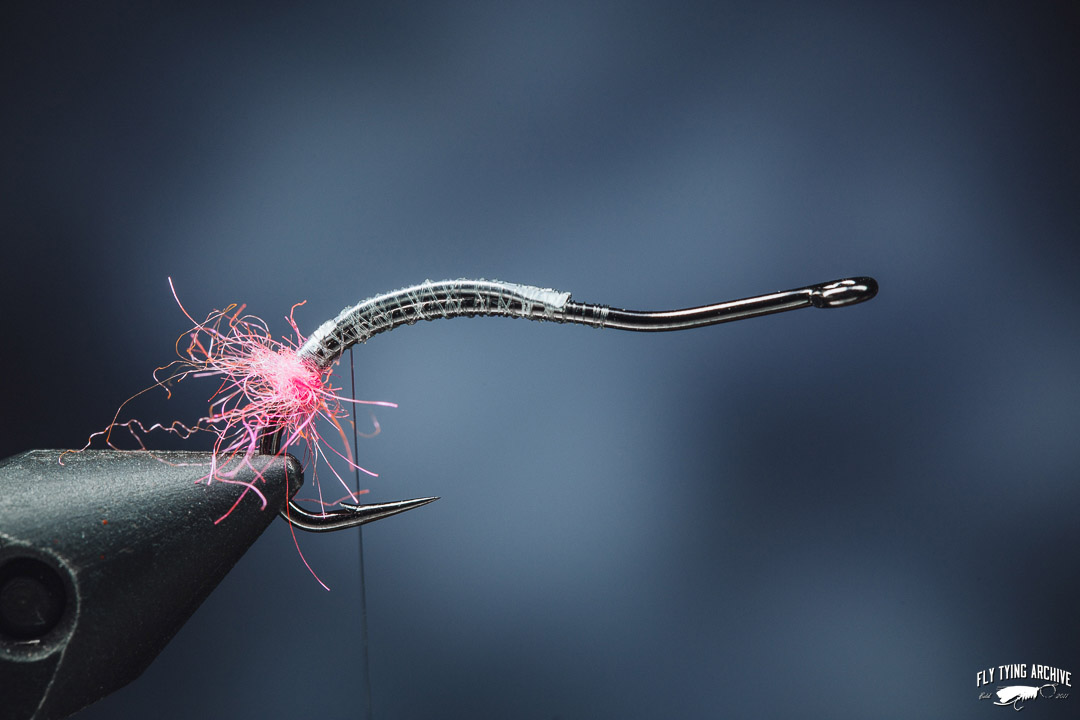
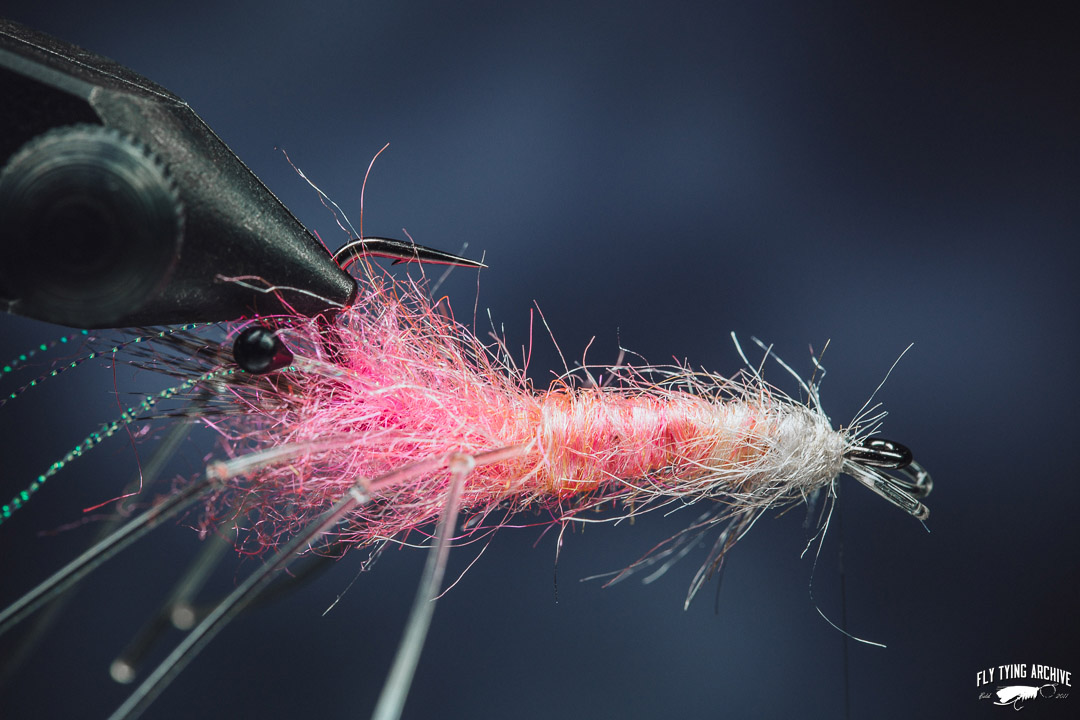
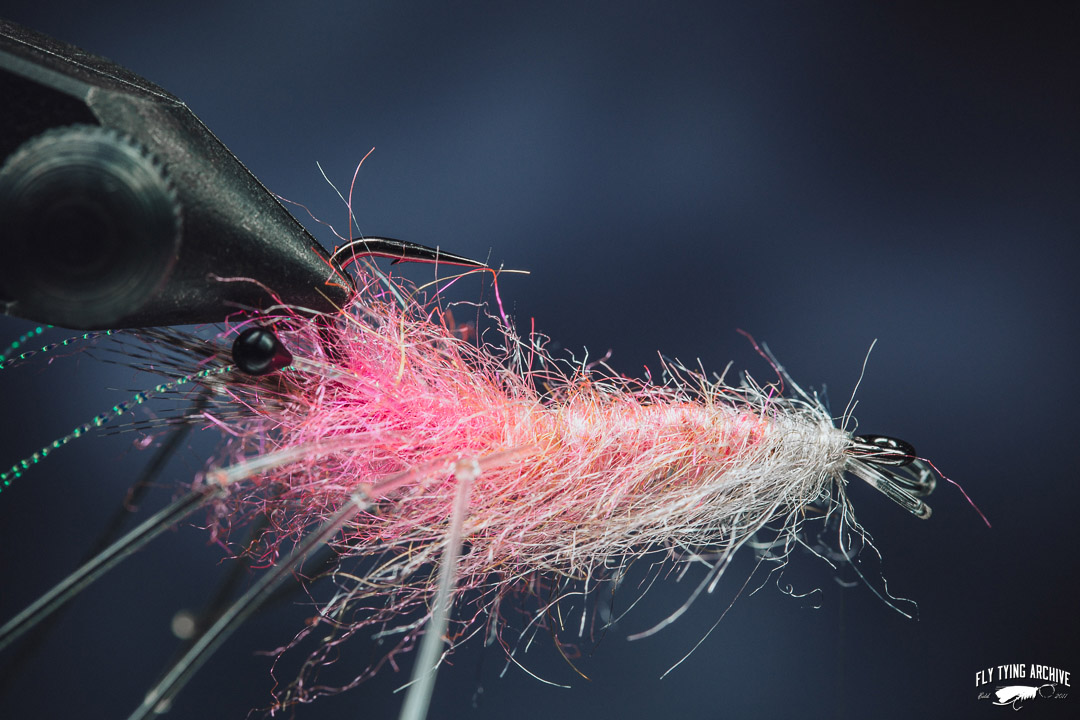
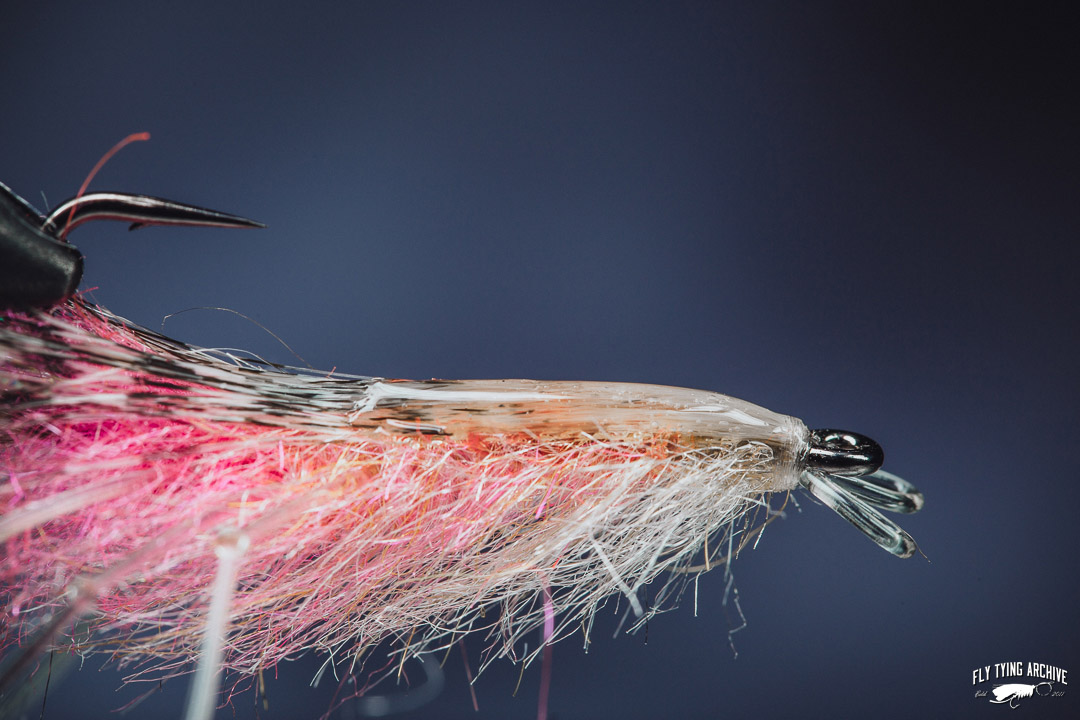
Dubbing: Super Bright – Fl. Pink, and SLF Saltwater – Sand (Change colors for a more realistic look)
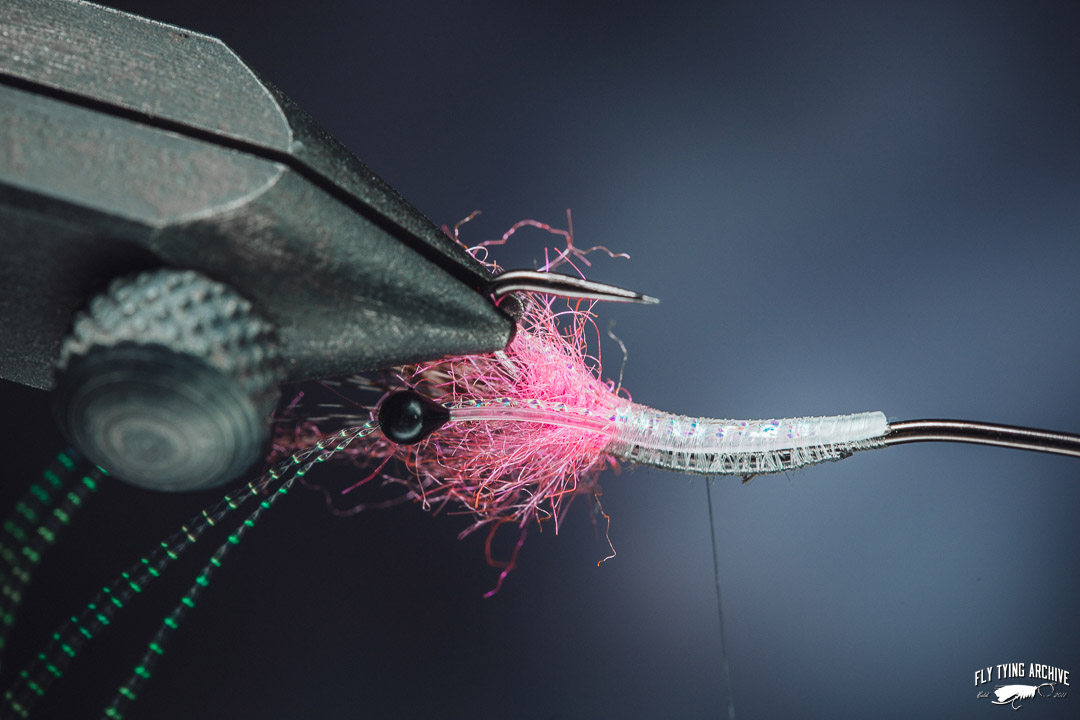
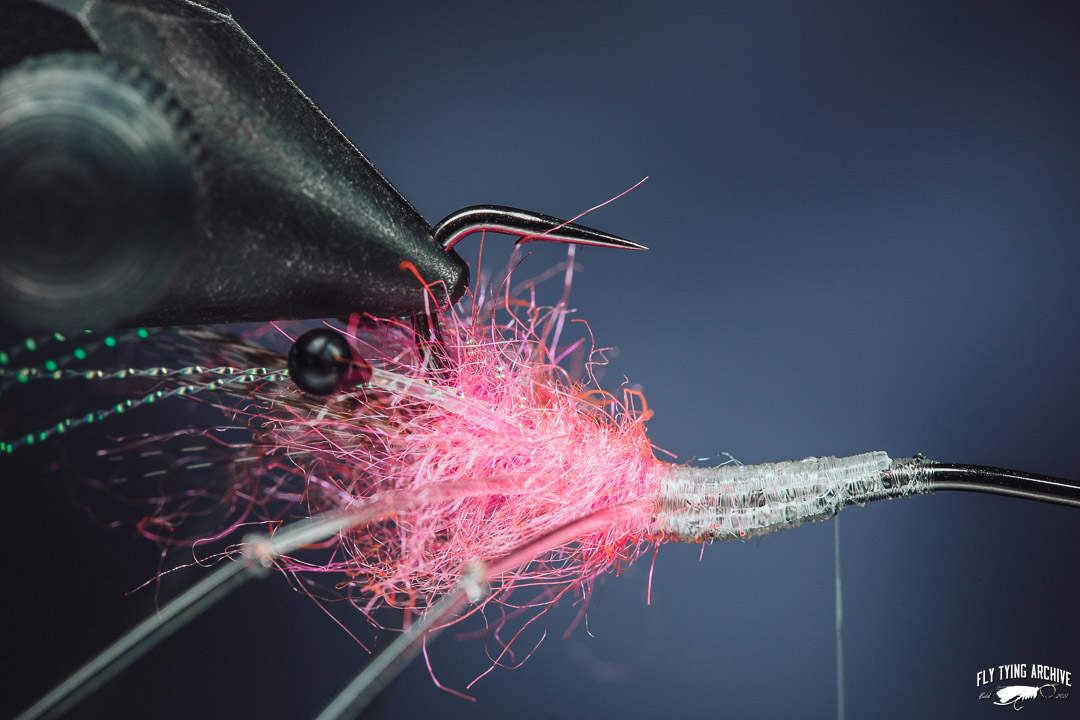
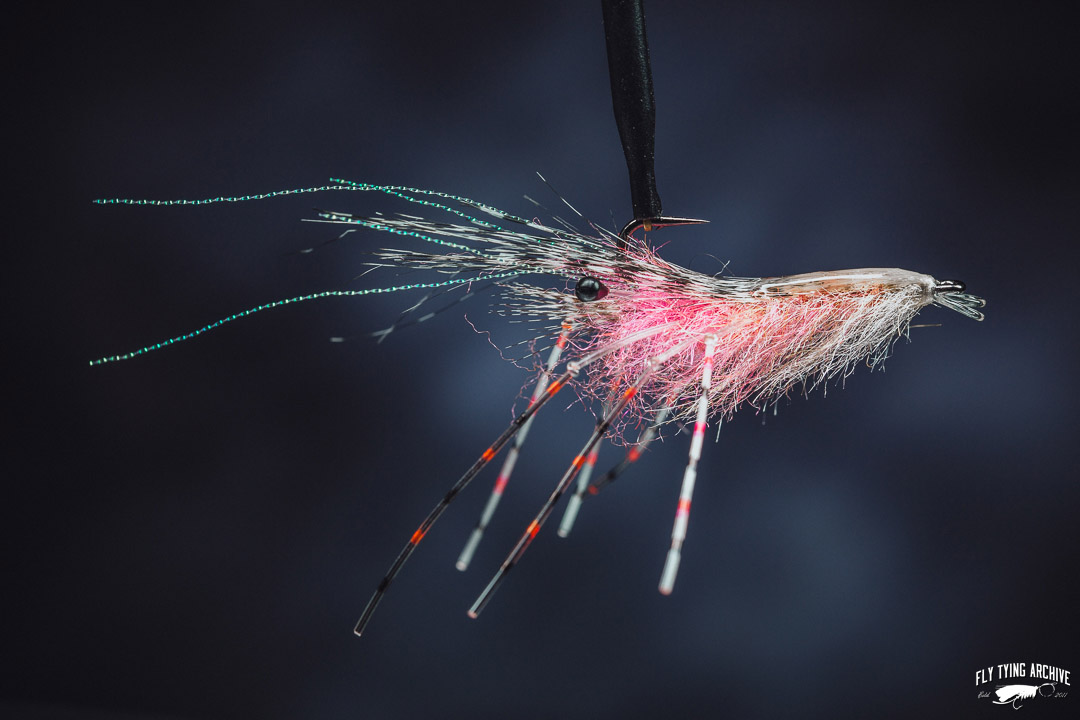
Mouth: Teal flank feather
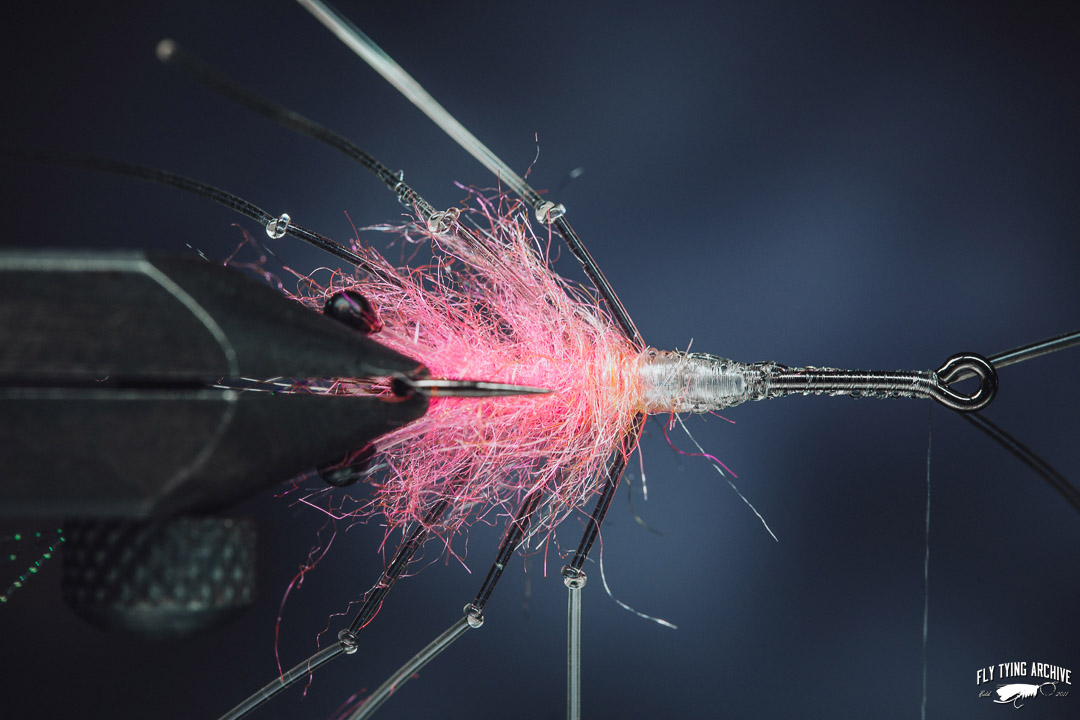
Eyes: Easy Shrimp Eyes – Black
Flash/Antennaes: Wapsi Midge Flash – Pearl
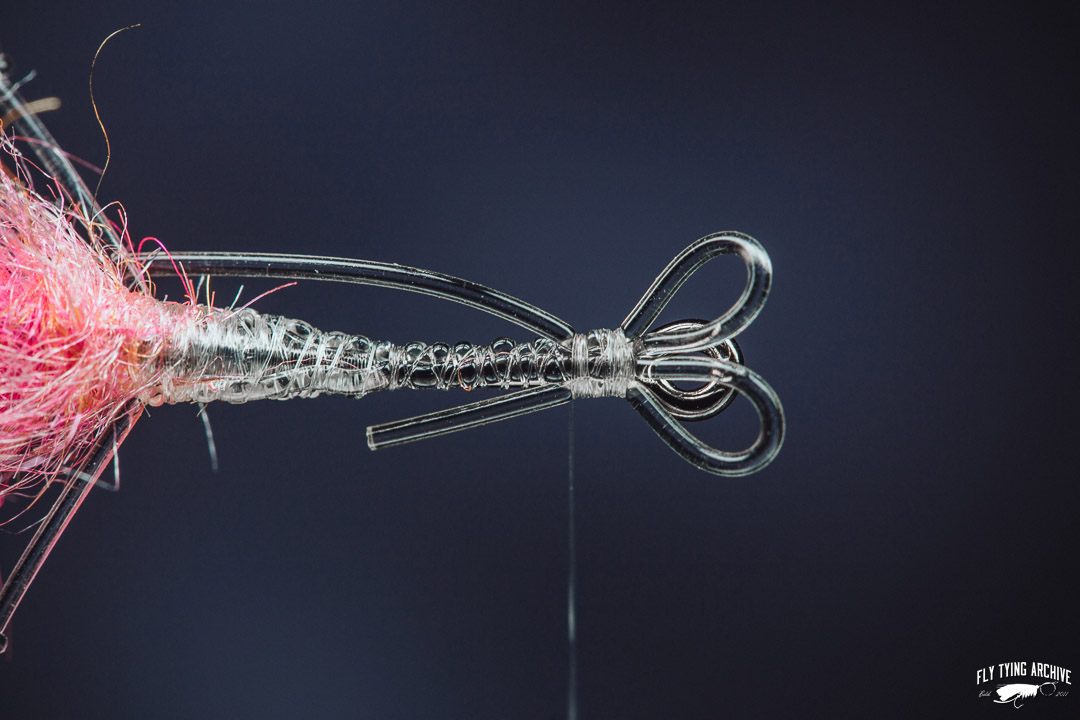
Legs/Tail: Clear Rubber legs
Back: The Fly Co. Grizzly Craft Fur – Tan (Used only the white fibers) coated with UV resin.

Perfect Shrimp step by step 1
Tie in two pieces of lead wire side by side as shown to make the fly swim hook point up.
Perfect Shrimp Step by step 2
Dub a small tight ball of dubbing to the middle of the bend and brush it out thoroughly.
Perfect Shrimp Step by step 3
Tie in barred fibers of a teal flank to represent the mouth parts of a shrimp. The ball of dubbing helps to orient them in the right angle.
Perfect Shrimp Step by step 4
Add more dubbing. Again dub it tightly first and then brush out thoroughly.
Perfect Shrimp Step by step 5
Tie in the eyes underneath the hookshank and six fibers of micro crystal flash on top of them.
Perfect Shrimp Step by step 6
Make a simple knot to the rubber leg first and tie one on both sides. Add more dubbing and tie in a second pair of legs.
Perfect Shrimp Step by step 7
Start mixing the dubbings to produce a color gradient towards the eye of the hook. Tie in the last pair of legs and check that they are all symmetrical. Tie in the waste pieces of the legs all the way to the eye.
Perfect Shrimp Step by step 8
Fold the waste end to create small loops for the tail of the shrimp.
Perfect Shrimp Step by step 9
Dub the body tightly while gradually mixing more light colored dubbing towards the eye of the hook.
Perfect Shrimp Step by step 10
Brush the dubbing heavily towards the top of the hook/belly of the shrimp.
Perfect Shrimp Step by step 11
Tie in a small bunch of grizzly craft fur.
Perfect Shrimp Step by step 12
Cut the ends close and cover with the tying thread. Use minimum amount of wraps. Coat the head with super glue.
Perfect Shrimp Step by step 13
Hold the craft fur straight and add UV resin to form the back of the shrimp. Two small coats is easier to handle than just one.
Perfect Shrimp Step by step 14
Cut the crystal flash strands to different lengths and cut dubbing to taper if necessary. Add barring to the legs with markers and the fly is done.
Show CommentsClose Comments

Leave a comment

I accept the Privacy Policy